
Simply Delicious Cake Design: FREE Patterned Roll Cake Recipe + Tutorial
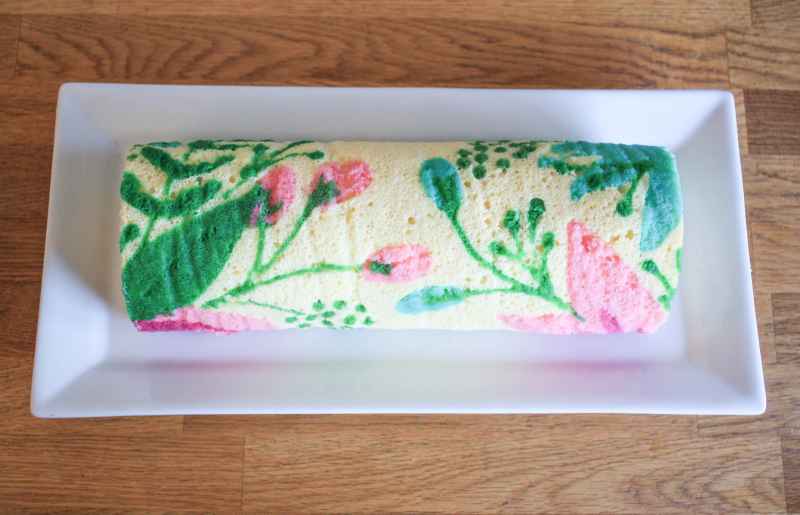
PATTERNED ROLL CAKE RECIPE
SUPPLIES:
Two walled cookie sheets
Parchment paper
Piping bags
Dishtowels
Small piping tip (optional)
Gel food coloring
Template (optional)
Marker
Sponge cake batter (Use your own recipe, but I used the one featured in Contemporary Layer Cakes)
Double batch of the pattern piping batter recipe found here
3 cups of filling (I used a standard American buttercream, but you could use your favorite buttercream, ganache, or whipped cream.)
Fresh fruit (optional)
STEP 1:
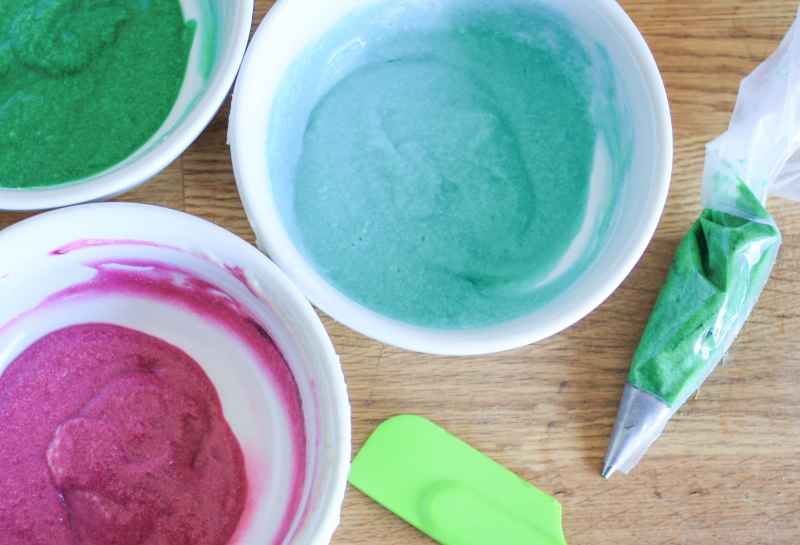
Divide your piping batter and color using gel food colors. Place the colored piping batter into piping bags. Use a small round tip if it makes you more comfortable when piping the finer details of your pattern. I just cut a small hole in the piping bag to fill in the larger sections. I used a variety of colors for my design. You can make yours as simple or as complicated as you like.
It is possible to just tint some of your sponge cake batter, but the design may not come out a sharp. The thicker piping batter holds its shape much better.
STEP 2:
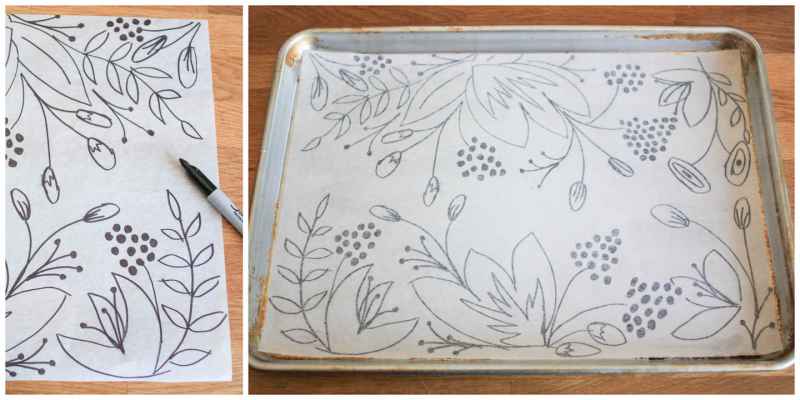
Trace or free-hand your pattern onto a piece of parchment paper. If you want a specific part of the image to appear on the top of the roll cake, place that part of your pattern about 3/4 of the way down the paper.
Before putting the template onto the cookie sheet, spray the pan lightly with pan spray and wipe it around with a paper towel. This will leave enough spray so that the paper sticks, but not so much that the paper gets warped. Flip the paper over and place it onto the sprayed cookie sheet.
STEP 3:
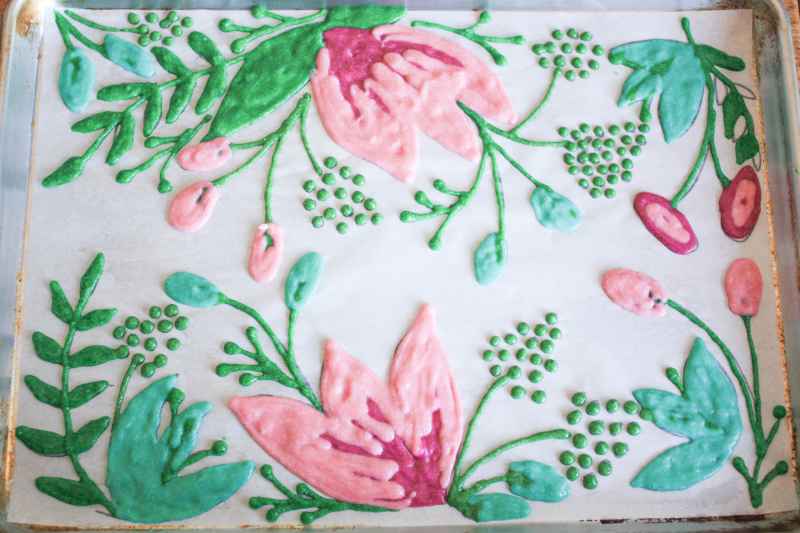
Pipe out your design, keeping in mind that the cake will be viewed in reverse. Start with the stems and stamens and layer in the larger parts of the design. Place the cookie sheet in the freezer until the batter is frozen solid, at least 15 minutes.
STEP 4:
While your design is setting up, prepare your sponge cake recipe and preheat your oven. It's important to use a true sponge cake in this kind of recipe, like the one in the class Contemporary Layer Cakes. A thicker cake like a pound cake or boxed mix might break when you try to roll it.
STEP 5:
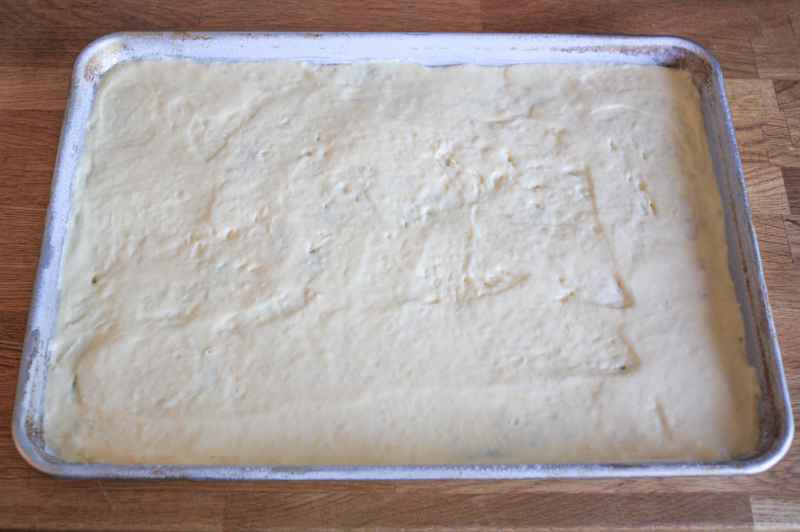
Remove the cookie sheet from the freezer and pour the sponge cake batter over your frozen design. Gently tap the sheet against the counter to make sure that the batter gets down into all the little nooks and crannies of your design. Bake according to your recipe's instructions.
STEP 6:
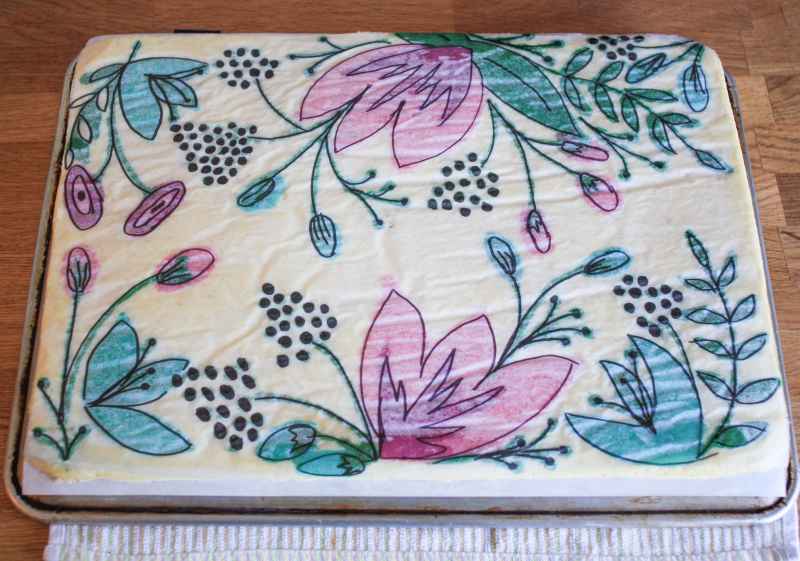
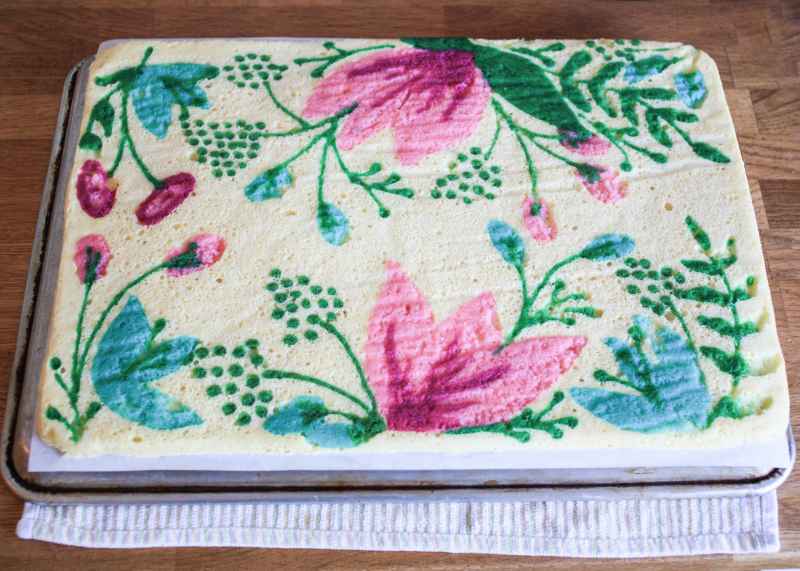
While the cake is still warm, place a clean dishtowel over the cake then place an upside down cookie sheet over the dishtowel. Flip the whole thing over and remove what was the sheet pan that the cake baked in. Peel off the parchment paper. Feast your eyes on your gorgeous cake and go ahead and give yourself a well-earned pat on the back!
Place another clean dishtowel over the cake and the upside down cookie sheet over the dishtowel. Flip the whole thing over again. Remove the other cookie sheet and dishtowel. Your cake should now be design side down on a dishtowel.
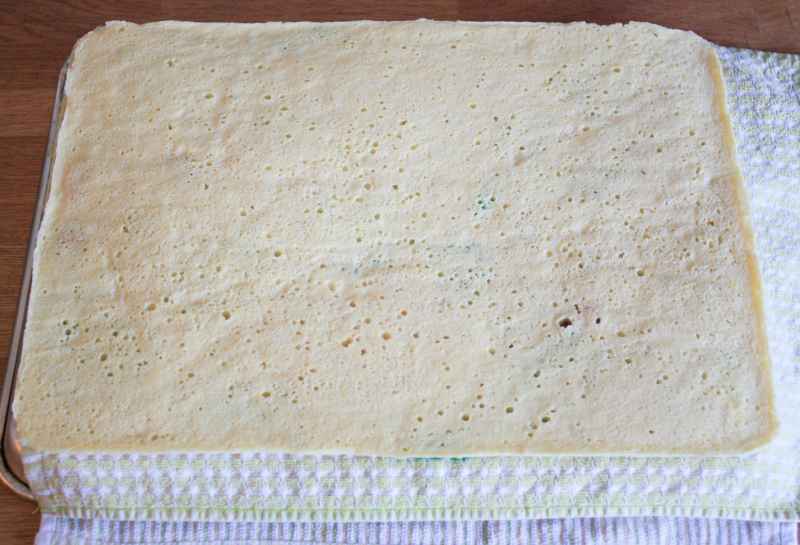
Use the dishtowel to roll the cake up into a log while it's still warm and pliable. Dust the towel with confectioners sugar if you live in a humid area and are afraid the cake might stick. Let the cake cool completely while rolled up in the towel.
STEP 7:
Prepare your filling while the cake is cooling.
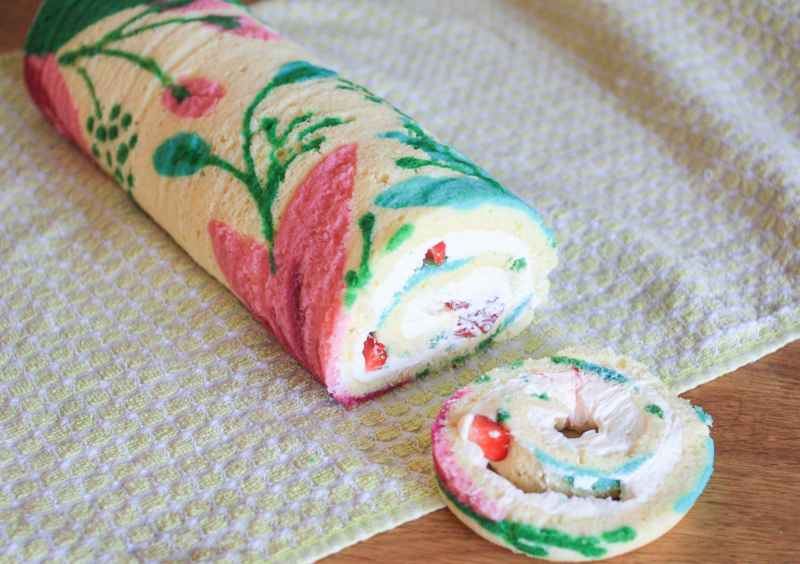
Once the cake is cooled, carefully unroll the towel and spread your filling onto the cake. Add the fresh fruit at this point if you're using it.

Roll the cake back up in the same direction as you did with the towel. Use a serrated knife to trim the ends of the cake. Stash these little baker's rewards aside for yourself.
STEP 8:
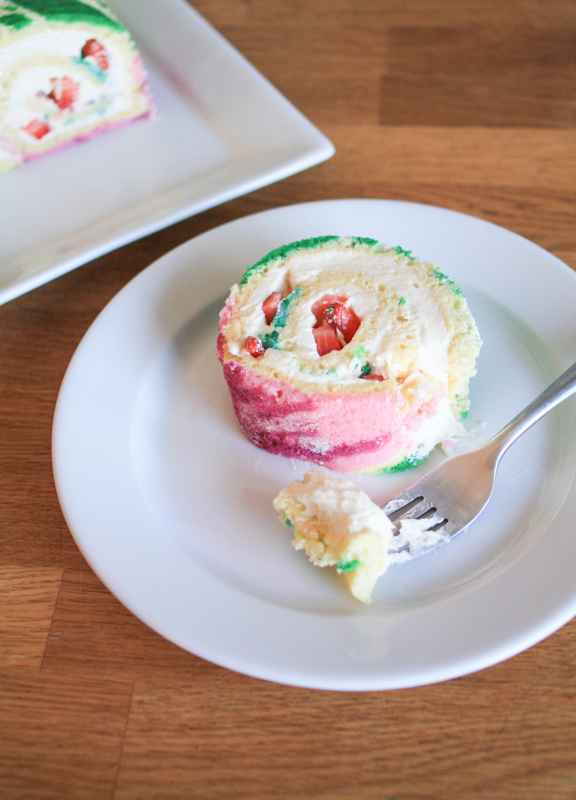
Place the finished roll cake onto a platter and enjoy! One of the benefits of this kind of cake is no decorating time after the cake has been baked and cooled. Enjoy the cake at room temperature on the day that it was baked. Store the cake in the fridge tightly wrapped with plastic wrap for up to three days.
Credit to Erin Gardner via https://www.craftsy.com/blog/2015/09/patterned-roll-cake-recipe/

